
How to Disable Cloudflare Proxy for Your Custom Domain
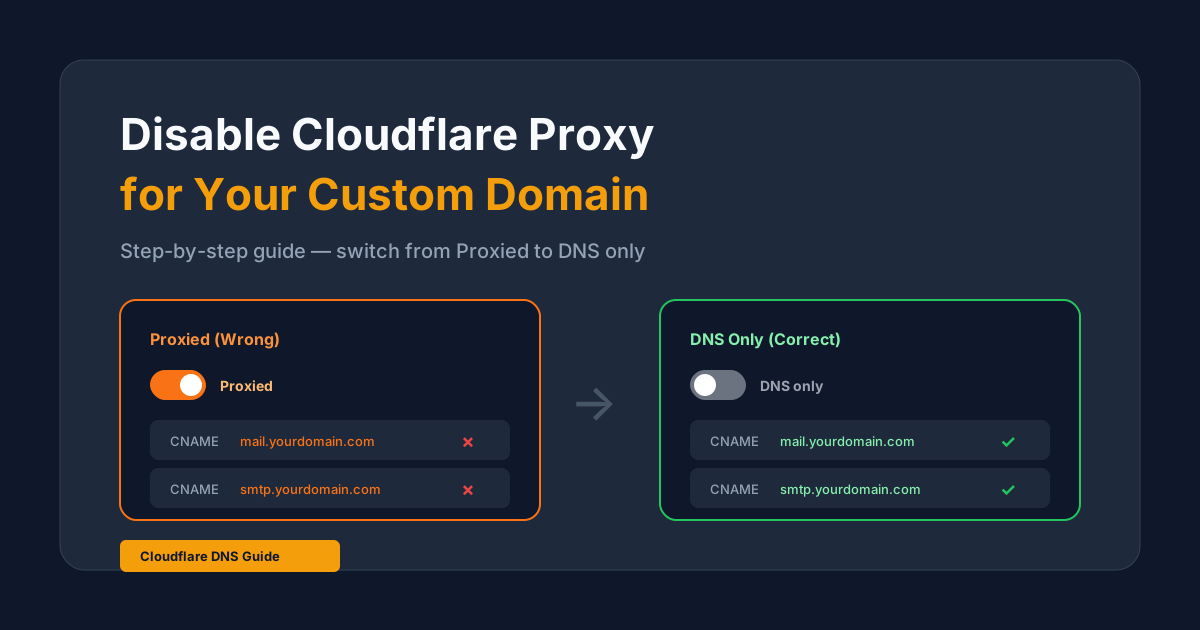
If you manage your domain through Cloudflare, your DNS records are likely set to Proxied mode by default (shown as an orange cloud icon). While this is great for regular websites, it breaks email services like Dotsmaker MailPRO because Cloudflare intercepts the connection.
This guide shows you exactly how to disable the Cloudflare proxy for your Dotsmaker MailPRO CNAME records so that webmail, admin panel, mail server (IMAP/SMTP), and SSL certificates all work correctly.
Why Does Cloudflare Proxy Break Email?
When Cloudflare proxy is enabled (orange cloud), all traffic goes through Cloudflare's servers first. This causes three problems for Dotsmaker MailPRO:
- SSL cannot be installed — Dotsmaker MailPRO needs to verify domain ownership to issue a Let's Encrypt certificate, but Cloudflare's proxy intercepts this verification.
- Mail server (IMAP/SMTP) won't connect — Outlook, Thunderbird, and iPhone use IMAP (port 993) and SMTP (port 465/587). Cloudflare only proxies HTTP/HTTPS traffic, so email clients cannot connect.
- Webmail may show errors — Cloudflare can modify headers and cache responses, causing authentication issues with the webmail interface.
Step-by-Step: Disable Cloudflare Proxy
Step 1: Log in to Cloudflare
Go to dash.cloudflare.com and select the domain you are using with Dotsmaker MailPRO.
Step 2: Go to DNS Settings
Click DNS in the left sidebar, then click Records. You will see a list of all your DNS records.
Step 3: Find Your Dotsmaker MailPRO CNAME Records
Look for the two CNAME records you created for Dotsmaker MailPRO:
| Purpose | Type | Name | Target |
|---|---|---|---|
| Webmail & Admin | CNAME | mail.yourdomain.com |
mailpro.dotsmaker.com |
| Mail Server | CNAME | smtp.yourdomain.com |
mymail.dotsmaker.com |
Step 4: Click the Orange Cloud Icon
For each of the two CNAME records above, click the orange cloud icon in the "Proxy status" column. It will change to a grey cloud with the label DNS only.
Important: You must do this for both CNAME records (webmail and mail server). If you only disable proxy on one, the other will still not work.
Step 5: Save and Wait
Cloudflare applies DNS changes almost instantly, but it can take 2–5 minutes for the change to propagate. After waiting:
- Go back to your Dotsmaker MailPRO Rebrand page
- Click Re-check & Install SSL in the Cloudflare alert box
- If it says "DNS OK! Installing SSL..." — you're done!
- If it still says "Still proxied!" — wait another minute and try again
Troubleshooting
Still showing "Proxied" after disabling?
- Wait longer — DNS propagation can take up to 5 minutes in rare cases.
- Check both records — Make sure you disabled proxy on both the webmail and mail server CNAME records.
- Check for page rules — Cloudflare Page Rules or Transform Rules can force proxy on certain subdomains. Remove any rules that apply to your Dotsmaker MailPRO subdomains.
- Check for CNAME flattening — If your CNAME is on the root domain (@), Cloudflare may flatten it to an A record and force proxy. Use a subdomain instead (e.g.,
mail.yourdomain.com).
Will disabling proxy affect my website?
No. You are only disabling the proxy for the specific subdomains used by Dotsmaker MailPRO (e.g., mail.yourdomain.com and smtp.yourdomain.com). Your main website's DNS records remain unaffected.
Summary
- Log in to Cloudflare → DNS → Records
- Find both Dotsmaker MailPRO CNAME records
- Click the orange cloud to switch to DNS only (grey cloud)
- Wait 2–5 minutes
- Click Re-check & Install SSL on the Dotsmaker MailPRO rebrand page
That's it! Once the proxy is disabled and DNS is verified, Dotsmaker MailPRO will automatically install your SSL certificate and your branded webmail, admin panel, and mail server will start working.